

Transform Your Outdoor Oasis: The Ultimate Guide to Garden Fence Painting
Transform your outdoor space from bland to brilliant with our comprehensive guide on garden fence painting. Whether you’re looking to revamp your backyard oasis or enhance your curb appeal, a fresh coat of paint can work wonders. In this ultimate guide, we’ll walk you through everything you need to know to tackle this DIY project like a pro.
Discover expert tips on choosing the right paint colours, prepping your fence for painting, and mastering the techniques for a flawless finish. From classic whites to bold hues that make a statement, we’ll inspire you with the latest trends and timeless palettes. Say goodbye to boring fences and hello to a vibrant outdoor sanctuary that reflects your style and personality.
Unleash your creativity, protect your fence, and elevate your outdoor living experience with our step-by-step instructions and insider tricks. Let’s transform your garden fence into a stunning masterpiece that will be the envy of the neighbourhood.
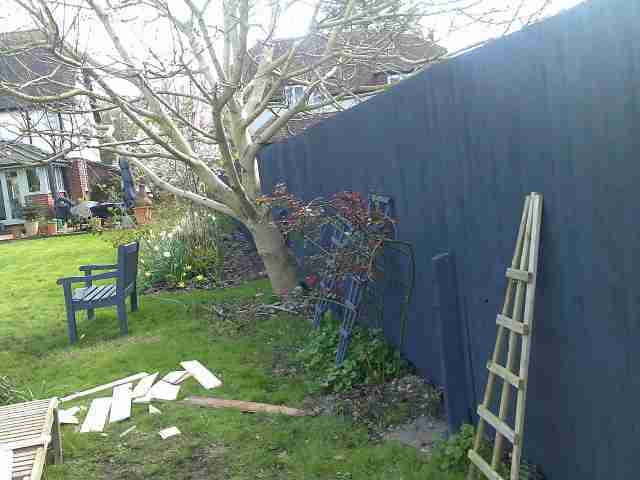 Garden Fence Painting
Importance of Garden Fence Painting
Painting your garden fence is not merely an aesthetic choice; it is a crucial aspect of outdoor maintenance that can significantly affect the overall appearance of your property. A well-painted fence can serve as a stunning backdrop for your garden, enhancing the colours of flowers and foliage while providing a sense of cohesion in your outdoor space. Additionally, it can elevate your home’s curb appeal, making it more inviting and increasing its value in the long run. An attractive fence can be a focal point that draws the eye, creating an inviting atmosphere for family gatherings, barbecues, or quiet evenings spent outside.
Beyond aesthetics, painting your fence also serves a functional purpose. A fresh coat of paint acts as a protective barrier against the elements, helping to shield the wood from moisture, UV rays, and pests. Over time, exposure to rain, sunlight, and temperature fluctuations can lead to rot, warping, and other forms of deterioration. By applying paint specifically designed for outdoor use, you can prolong the lifespan of your fence and reduce the frequency of repairs or replacements. This added layer of protection can save you money and effort in the long term, making it a wise investment for any homeowner.
Furthermore, the choice of colour can influence the overall mood of your outdoor space. Whether you prefer soothing neutrals or bold, vibrant hues, the colour of your garden fence can reflect your personality and style. A painted fence can create a welcoming ambience, invite relaxation, and set the tone for outdoor activities. It can also complement the architectural features of your home, blending seamlessly with your landscape design. By transforming your fence into a canvas for creativity, you can turn an ordinary structure into a stunning piece of art that enhances the beauty of your garden.
Choosing the Right Paint for Your Garden Fence
Selecting the appropriate paint for your garden fence is essential to ensure durability and longevity. When it comes to outdoor painting, not all paints are created equal. It is crucial to choose a paint specifically formulated for exterior use, as these products are designed to withstand harsh weather conditions while adhering well to wooden surfaces. Look for paints labelled as weather-resistant or suitable for outdoor wood, as these will offer the best protection against the elements.
In addition to durability, consider the finish of the paint. There are three primary types of finishes: matte, satin, and gloss. A matte finish provides a subtle, non-reflective look that can help hide imperfections in the wood, while a satin finish offers a slight sheen that adds depth without being overly shiny. Gloss finishes are more reflective and can make colours appear more vibrant, but they may also highlight imperfections. Depending on your design goals and the current condition of your fence, you may choose one finish over another.
Color selection is another critical aspect of the painting process. The colour of your garden fence can dramatically affect the overall atmosphere of your garden. Neutral colours like whites, greys, and beiges create a clean and sophisticated look, allowing your plants to take centre stage. On the other hand, bold colours, such as deep blues, greens, or even bright reds, can make a statement and showcase your personality. Consider the surrounding elements, including your home’s exterior and the colours of your foliage, to ensure a harmonious look. Additionally, testing a few colour samples on small sections of your fence can help you visualize the final result before committing to a colour.
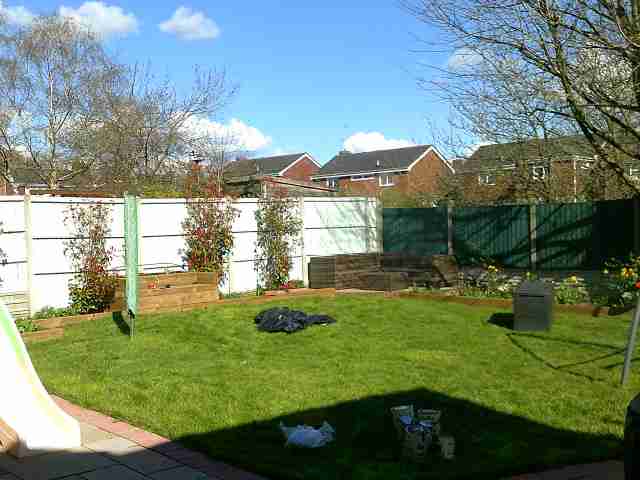 Garden Fence Painting
Preparing Your Garden Fence for Painting
Before diving into the painting process, proper preparation of your garden fence is critical to achieving a professional-looking finish. Start by thoroughly inspecting the fence for any damage or areas requiring repair. Look for signs of rot, loose boards, or rusted hardware. Address any issues before painting to prevent further deterioration. For wooden fences, replacing damaged boards is essential, while metal fences may require rust treatment and patching before you begin.
Next, clean the fence to remove dirt, dust, and any previous paint that may be peeling or flaking. A pressure washer is an effective tool for this task, but if you don’t have access to one, a simple scrub with a mixture of water and mild detergent can also do the job. Be sure to rinse the fence thoroughly afterwards to ensure no soap residue remains. For stubborn stains or mildew, consider using a mixture of vinegar and water or a specialized mildew remover. Allow the fence to dry completely before continuing to the next step.
Once the fence is clean and dry, it’s time to sand the surface. This step is crucial for wood fences, as it helps to smooth out rough spots and ensures better paint adhesion. Use sandpaper or a power sander to gently sand the entire surface, paying special attention to areas that show signs of wear. After sanding, wipe down the fence with a damp cloth to remove any dust created during the process. With a clean, smooth surface, your fence will be ready for a fresh coat of paint that will adhere better and last longer.
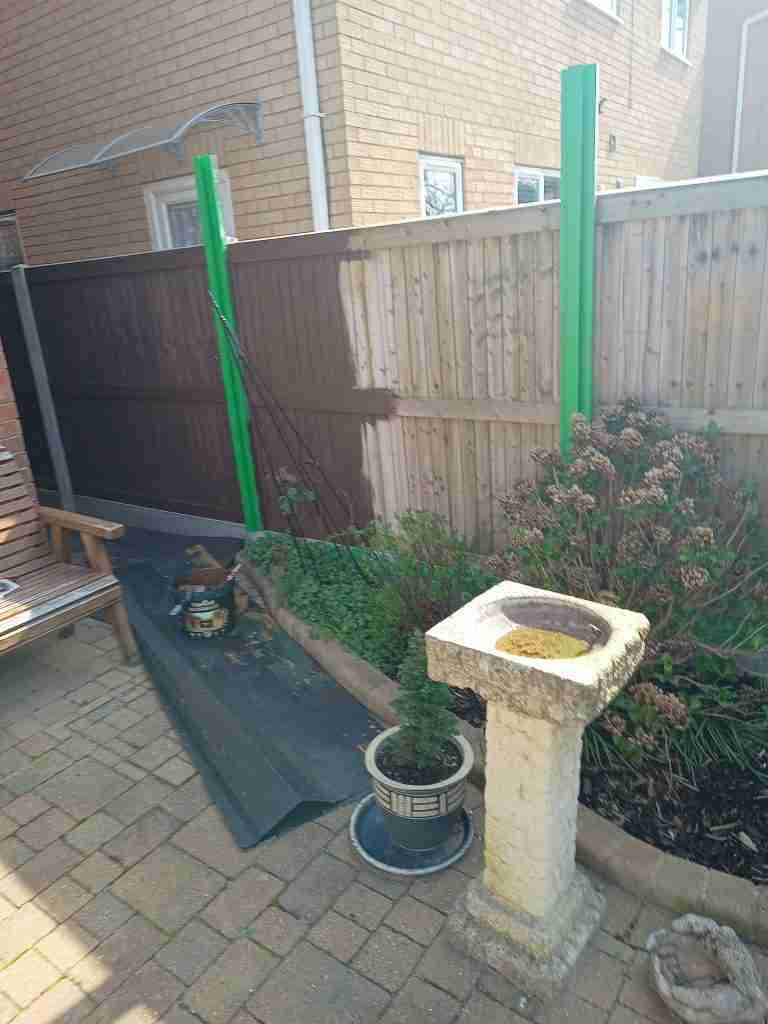 Garden Fence Painting
Tools and Materials Needed for Garden Fence Painting
To successfully paint your garden fence, having the right tools and materials on hand will streamline the process and enhance your results. Start with the basics: a high-quality outdoor paint suitable for your fence material, whether it’s wood or metal. Make sure to purchase enough paint to cover the entire surface area, and consider buying an extra can for touch-ups later on. Additionally, a primer may be required, especially if you’re painting over bare wood or making a significant colour change.
Next, gather your painting tools. A good-quality paintbrush is essential for detailed work, especially around edges and corners. For larger areas, a roller can speed up the process, while a paint sprayer is ideal for achieving a smooth, even coat without brush strokes. Don’t forget to include a paint tray and liners for easy paint access. If you’re working with a tall fence, an extension pole can help you reach higher sections without the need for a ladder.
Protective gear is also important when painting. Invest in a pair of durable gloves to keep your hands clean and safe from chemicals. Safety goggles can protect your eyes from paint splatter, while a mask is advisable when working with spray paint or in poorly ventilated areas. Finally, consider using drop cloths or old sheets to cover the ground and any nearby plants to prevent paint drips from ruining your landscape. With the right tools and materials, you’ll be well-prepared to tackle your garden fence painting project.
Step-by-Step Guide to Painting Your Garden Fence
Once you have everything prepared, it’s time to get started with the actual painting process. Begin by applying a primer to the fence, especially if you are painting raw wood or making a drastic colour change. Primer helps to seal the wood, enhances paint adhesion, and can prevent issues like bleeding or discolouration. Use a brush to apply primer in hard-to-reach areas and a roller for larger sections. Allow the primer to dry completely according to the manufacturer’s instructions before moving on to the next step.
After the primer has dried, it’s time to apply the first coat of paint. Begin by cutting in around the edges with a brush—this means painting along the top, bottom, and corners of the fence. Once the edges are done, use a roller to cover the larger areas. Work in sections, applying the paint evenly and avoiding drips. A good tip is to paint in a ‘W’ pattern with your roller, which helps to distribute the paint more evenly. If you’re using a sprayer, keep the nozzle moving to prevent pooling and ensure even coverage.
After applying the first coat, allow it to dry thoroughly before inspecting for any spots that may require a second coat. Depending on the colour and type of paint used, you may need to apply two or even three coats for optimal coverage and vibrancy. Always follow the recommended drying times on the paint can to ensure the best results. Once you’re satisfied with the colour and coverage, remove any painter’s tape and clean your brushes and tools promptly to avoid hardening paint. Enjoy your freshly painted fence and the transformation it brings to your outdoor space!
Tips for Achieving a Professional Finish
To achieve a professional-looking finish on your garden fence, attention to detail is paramount. Start with thorough preparation, as already discussed, to ensure a clean and smooth surface for painting. However, even with a perfectly prepped surface, the application technique plays a significant role in the final appearance. Take your time when painting, avoiding the temptation to rush through the process. Work in small sections, using a consistent and even motion to apply the paint, and always follow the grain of the wood for a more polished look.
Another important tip is to invest in high-quality brushes and rollers. Cheaper tools may save you money initially, but they can lead to uneven application and more touch-ups later on. Quality brushes hold more paint and apply it more smoothly, while a decent roller will cover large areas quickly without leaving behind lint or streaks. If using a sprayer, practice on a piece of cardboard or scrap wood to get a feel for the nozzle distance and paint flow before applying it to your fence.
Finally, consider the weather conditions when planning your painting project. Ideal painting conditions include temperatures between 50°F and 85°F (10°C – 29°C) with low humidity. Avoid painting on overly sunny or windy days, as this can cause the paint to dry too quickly, leading to an uneven finish. If rain is in the forecast, postpone your project until you have a dry, clear day ahead. By taking these factors into account, you can achieve a stunning, professional finish that enhances the beauty of your outdoor oasis.
Creative Ideas for Decorative Fence Painting
Once you’ve mastered the basics of painting your garden fence, it’s time to unleash your creativity and explore decorative options that can take your outdoor space to the next level. One popular technique is to create a two-tone effect, where the lower half of the fence is painted one colour and the upper half another. This design can add depth and interest, especially when paired with complementary colours. Alternatively, consider painting a bold accent stripe or geometric pattern to add a modern touch to your fence.
If you’re feeling adventurous, consider adding stencils or murals to your fence. These can range from simple designs, such as flowers or leaves, to intricate landscapes or abstract art. Stencils are widely available at craft stores, or you can create your own using cardboard or plastic sheets. Painting a mural or a series of designs can transform your fence into a focal point that reflects your personality and style, making it a unique feature of your garden.
Lastly, think about incorporating natural elements into your fence design. For instance, you can paint your fence to mimic the appearance of wood grain or stone, creating a rustic look that blends seamlessly with your garden. Another option is to use paint to highlight natural features, such as climbing plants or trellises, by painting the fence a complementary colour that enhances the greenery. These creative ideas can make your garden fence a standout feature in your outdoor oasis, showcasing your style and creativity.
Maintaining Your Painted Garden Fence
Once you’ve completed your garden fence painting project, ongoing maintenance is essential to keep it looking fresh and vibrant. Regular inspections of your fence are crucial. Look for signs of wear, such as peeling paint, discolouration, or damage caused by weather or pests. Addressing these issues early on can prevent more extensive damage and ensure your fence remains an attractive feature in your garden.
Cleaning your painted fence periodically will also help maintain its appearance. Use a soft brush or cloth and a mixture of mild detergent and water to gently scrub away dirt, algae, or mildew that may accumulate over time. Avoid using harsh chemicals or abrasive materials, as these can damage the paint finish. Rinse the fence thoroughly with clean water after washing to remove any soap residue. Regular cleaning will not only keep your fence looking great but will also prolong the life of the paint.
Finally, when it comes to repainting, timing is key. Depending on the quality of the paint and the exposure to the elements, you may need to repaint every few years. Pay attention to signs that your fence needs a fresh coat, such as fading colour or peeling paint. When repainting, follow the same preparation and application steps as before to ensure a smooth and even finish. By staying proactive in your maintenance routine, your garden fence will continue to enhance your outdoor oasis for years to come.
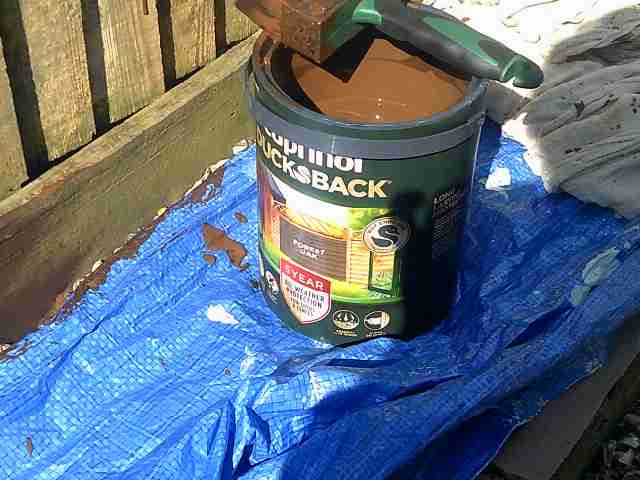 Garden Fence Painting
Eco-Friendly Options for Garden Fence Painting
As environmental consciousness grows, many homeowners are seeking eco-friendly options for their outdoor projects, including garden fence painting. Fortunately, there are several sustainable choices available that can help you achieve a beautiful finish while minimizing your ecological footprint. One option is to use water-based paints, which typically contain fewer volatile organic compounds (VOCs) compared to traditional oil-based paints. These low-VOC paints are less harmful to the environment and your health, making them a safer choice for outdoor use.
Another eco-friendly alternative is to explore natural paint options made from plant-based ingredients. These paints often contain fewer synthetic chemicals and can provide excellent coverage and durability. Brands specializing in eco-friendly paints are becoming more prevalent, and many offer a range of colours and finishes to suit your design needs. When shopping for paint, look for certifications or labels indicating that the product is environmentally friendly, ensuring you make a responsible choice.
Additionally, consider upcycling or repurposing materials for your fence painting project. If you have leftover paint from previous projects, check to see if it is still usable before purchasing new paint. Mixing different colours can create unique shades that complement your outdoor space while reducing waste. By opting for eco-friendly paints and practices, you can transform your garden fence sustainably, making it a beautiful and responsible addition to your outdoor oasis.
Conclusion
In conclusion, painting your garden fence is a transformative project that can enhance the beauty and functionality of your outdoor space. By understanding the importance of fence painting, selecting the right materials, and following proper techniques, you can achieve stunning results that reflect your style and personality. From the initial preparation to creative decorative ideas, this ultimate guide has provided you with the knowledge and inspiration needed to tackle this DIY project with confidence.
Remember that ongoing maintenance is key to preserving your painted fence, ensuring it remains a focal point in your garden for years to come. By staying proactive in your care and considering eco-friendly options, you can enjoy a beautifully painted fence that not only enhances your outdoor oasis but also aligns with your values as a responsible homeowner. Embrace your creativity, protect your investment, and transform your garden fence into a masterpiece that will be the envy of your neighbourhood. Your outdoor sanctuary awaits!
Transform your outdoor space with a fresh coat of paint for your fences! If you’re looking to enhance the beauty and longevity of your fences, don’t hesitate to reach out. Ring or send us a message on WhatsApp at 07971182765 to connect with us today!
